A Guide to the Shotguns of Red Dead Redemption: Power, Precision, and Frontier Firepower
Red Dead Redemption shotgun guide reveals the best models and strategies for survival and dominance in the American frontier.
In the sprawling, unforgiving world of Red Dead Redemption, a good shotgun is more than just a weapon; it's a statement, a tool for survival, and the great equalizer in the chaos of frontier combat. These formidable firearms, known for their devastating close-range power and rapid-fire capability, have cemented their place in the arsenals of outlaws and lawmen alike. But which shotgun truly reigns supreme in the dusty plains and bustling towns of the American frontier? With five distinct models available across the base game and its DLC, each boasting unique strengths and tactical niches, the choice is far from simple. This guide delves into the heart of the matter, exploring the raw power, handling, and strategic applications of every shotgun a player can wield.

The Blunderbuss: A Specialist's Nightmare
Let's start with the most unique entry on the list: the Blunderbuss. This weapon is a true specialist, found exclusively in the Undead Nightmare DLC. It's a force of nature against the shambling hordes, capable of obliterating any undead creature with a single, thunderous blast. Its power is so immense it can even dispatch multiple foes clustered together. But is it the perfect weapon? Far from it. The Blunderbuss comes with significant trade-offs:
-
Power: High-Very High 🎯
-
Reload Speed: Low ⏳
-
Range: Moderate 📏
-
Rate of Fire: Low 🐌
-
Capacity: 1
While its raw stopping power is unmatched, the agonizingly slow reload speed demands meticulous planning. Every shot must count, and players must be ready to switch to a sidearm or retreat immediately after firing. It's a weapon of decisive, terrifying power, but not one for sustained firefights.
The Sawed-Off Shotgun: Up Close and Personal
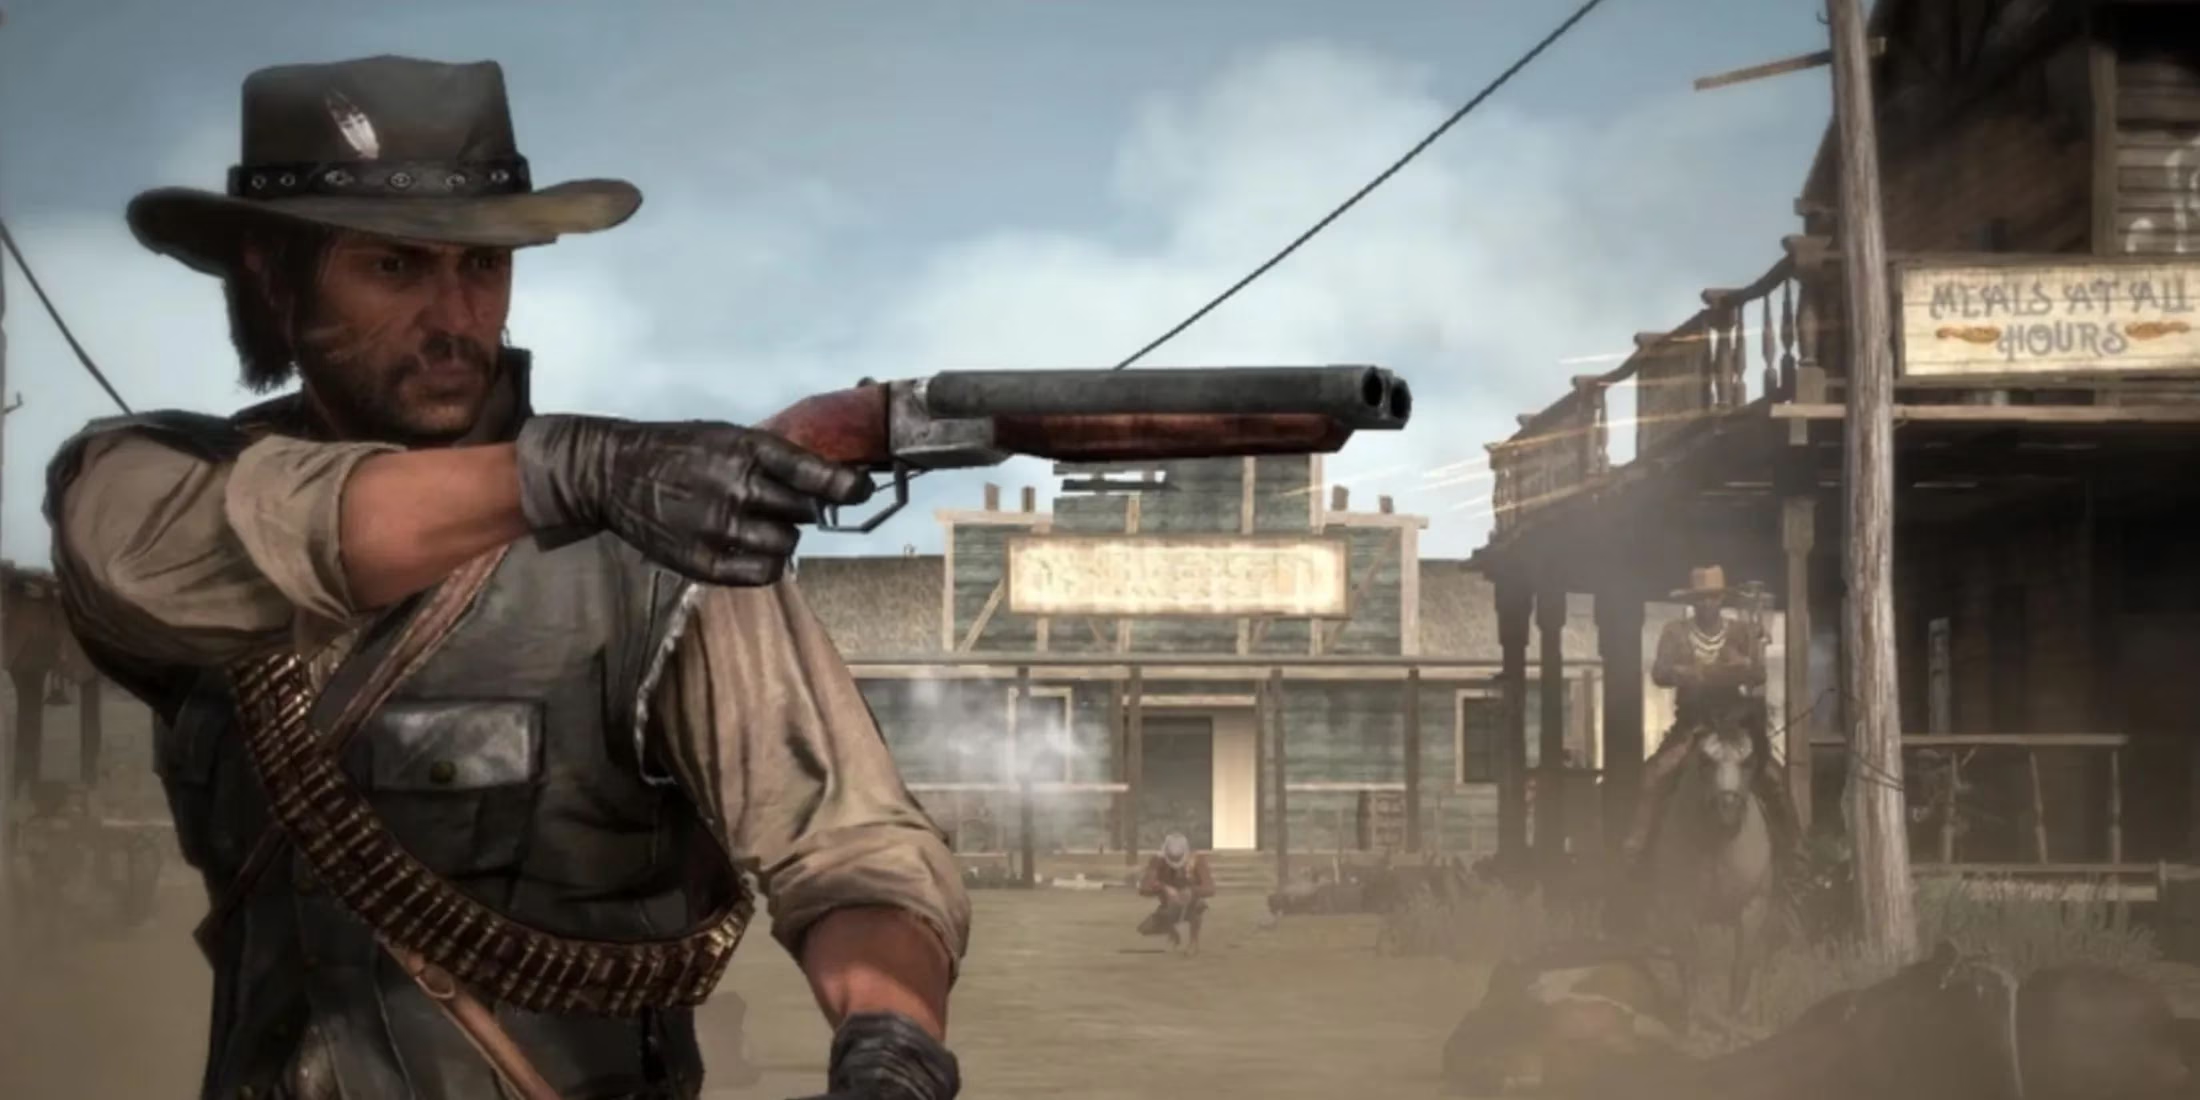
Moving to the base game, we encounter the Sawed-Off Shotgun. This weapon is the definition of a pocket cannon. Its power is extreme, but it sacrifices everything else to achieve it. Accuracy? Forget about it. Range? Practically non-existent. So, why would anyone use it? The answer lies in its dual-wielding potential and its role as a brutal, last-resort weapon.
-
Power: High 💥
-
Reload Speed: Moderate 🔄
-
Range: Very Low 📉
-
Rate of Fire: High 🚀
-
Capacity: 2
Many seasoned players recommend carrying two Sawed-Off Shotguns. This setup mitigates the tiny two-shell capacity and creates an unbelievably powerful burst of fire at point-blank range. It’s the weapon you pull when an enemy is right in your face and you need them gone immediately. You'll first find this gun in the mid-game, often looted from fallen enemies.
The Semi-Automatic Shotgun: The Lead Storm
For those who prefer to solve problems with a hailstorm of buckshot, the Semi-Automatic Shotgun is the answer. Don't expect pinpoint accuracy; this weapon is all about volume of fire. Its five-shell capacity and high rate of fire make it perfect for chaotic, close-quarters engagements where multiple targets need to be neutralized quickly.
-
Power: High 🔥
-
Reload Speed: Medium ⚡
-
Range: Low 🎯
-
Rate of Fire: High 🌪️
-
Capacity: 5
It's a weapon favored by experienced gunslingers, as mastering its spray pattern takes practice. The real beauty of this gun, however, is its accessibility. It can be purchased from the Gun Merchant in Escalera. While the base price is a steep $1000, high honor can halve it, and wearing the Savvy Merchant Outfit can slash the price to a mere $250—an absolute steal for such a potent tool.
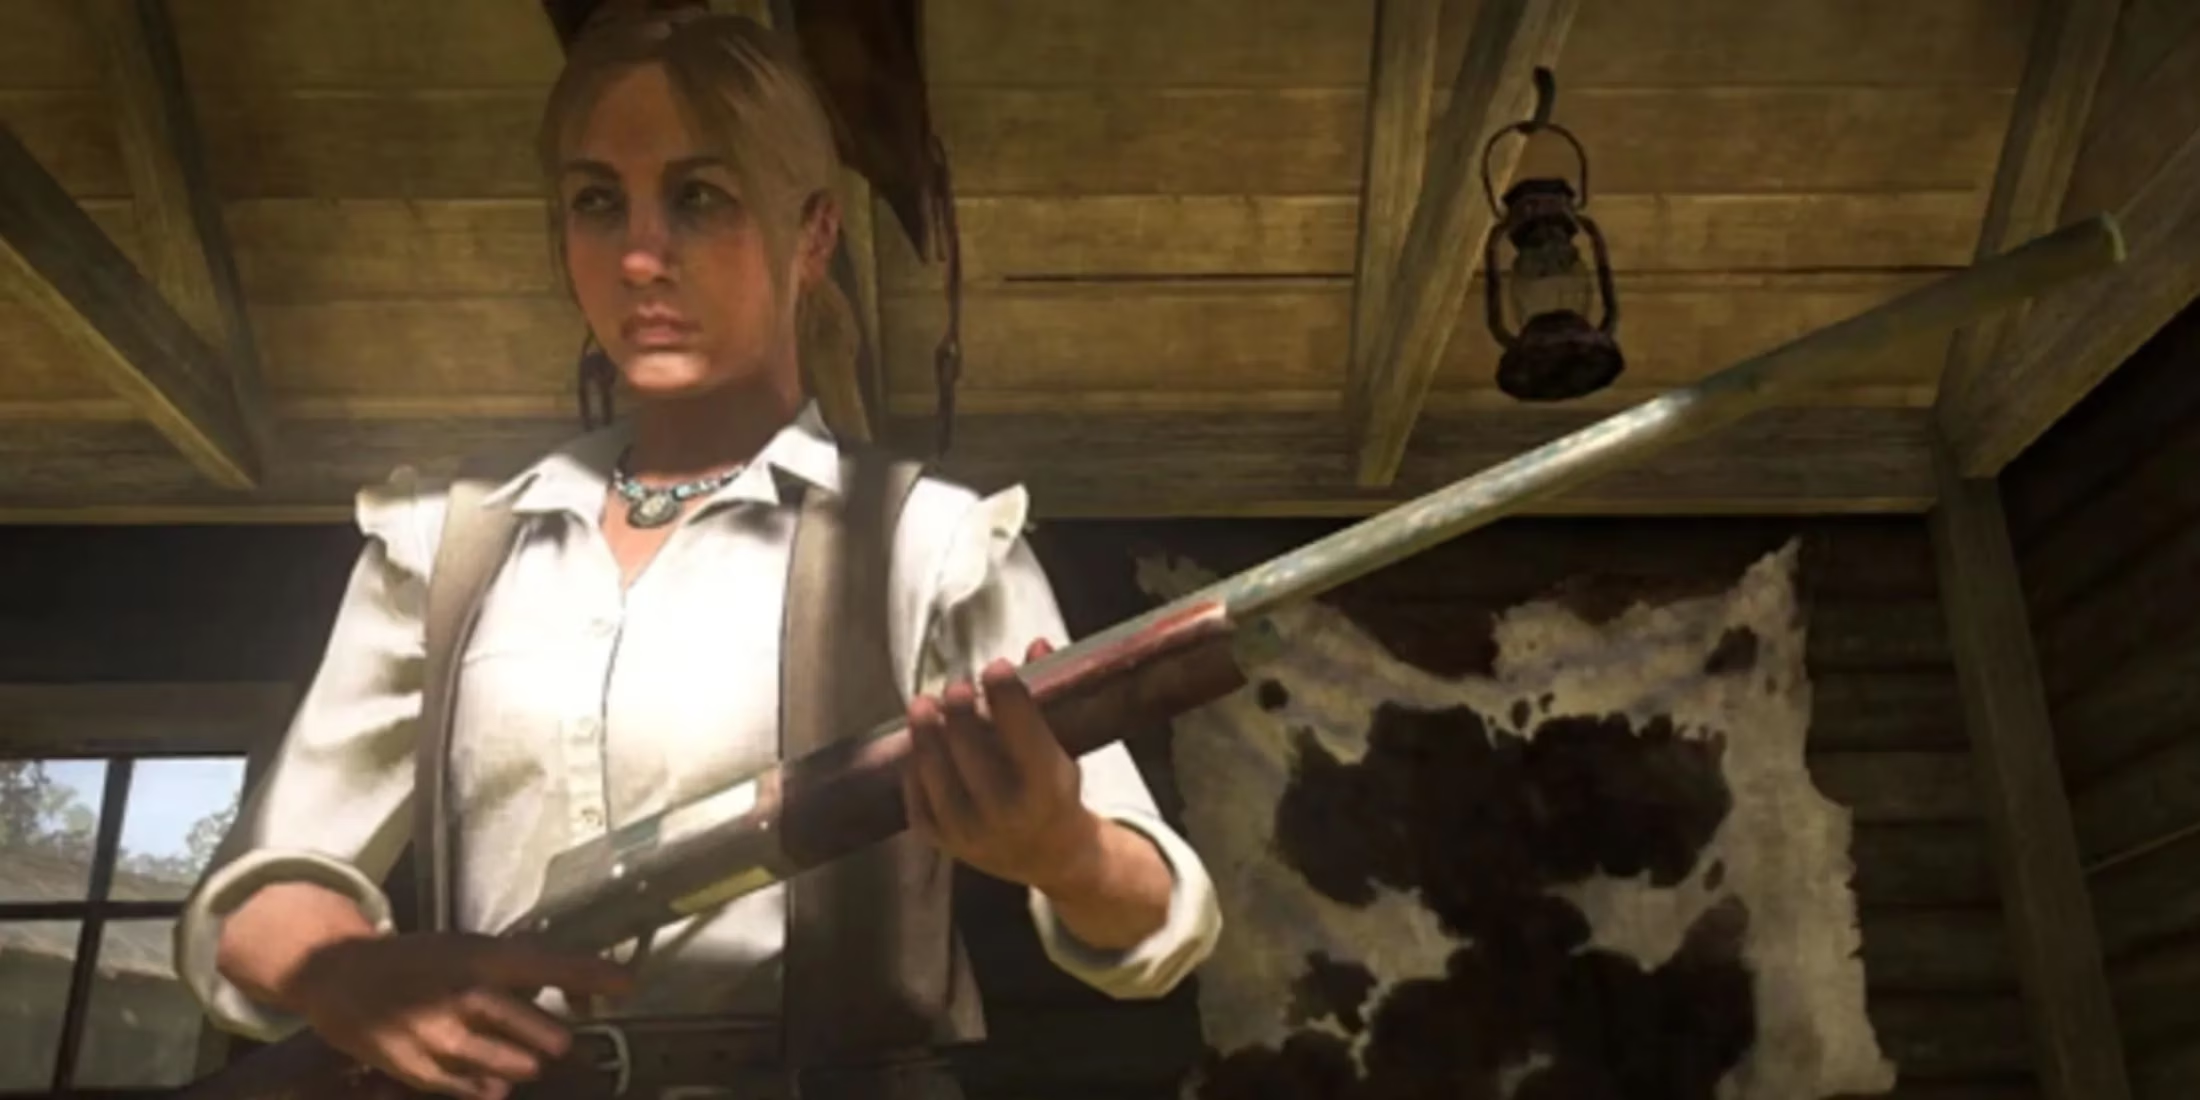
The Double-Barreled Shotgun: The Classic Workhorse
The Double-Barreled Shotgun is the quintessential frontier firearm. It's dependable, powerful, and surprisingly versatile. While its two-shell capacity limits sustained fire, it excels in specific scenarios. It's particularly effective for bounty hunting or delivering a decisive blow to a single, dangerous target.
-
Power: High 🎖️
-
Reload Speed: Medium 🔧
-
Range: Short 📐
-
Rate of Fire: Moderate ⚖️
-
Capacity: 2
Its unique trick? By double-tapping the trigger, players can unleash both barrels simultaneously for a truly catastrophic blast. It’s perfect for stopping a charging enemy or a fast-moving target in its tracks. You can acquire it by completing certain missions (like killing Spike Haggerty) or by purchasing it in Armadillo, where your fame and honor can drastically reduce the $300 price tag.
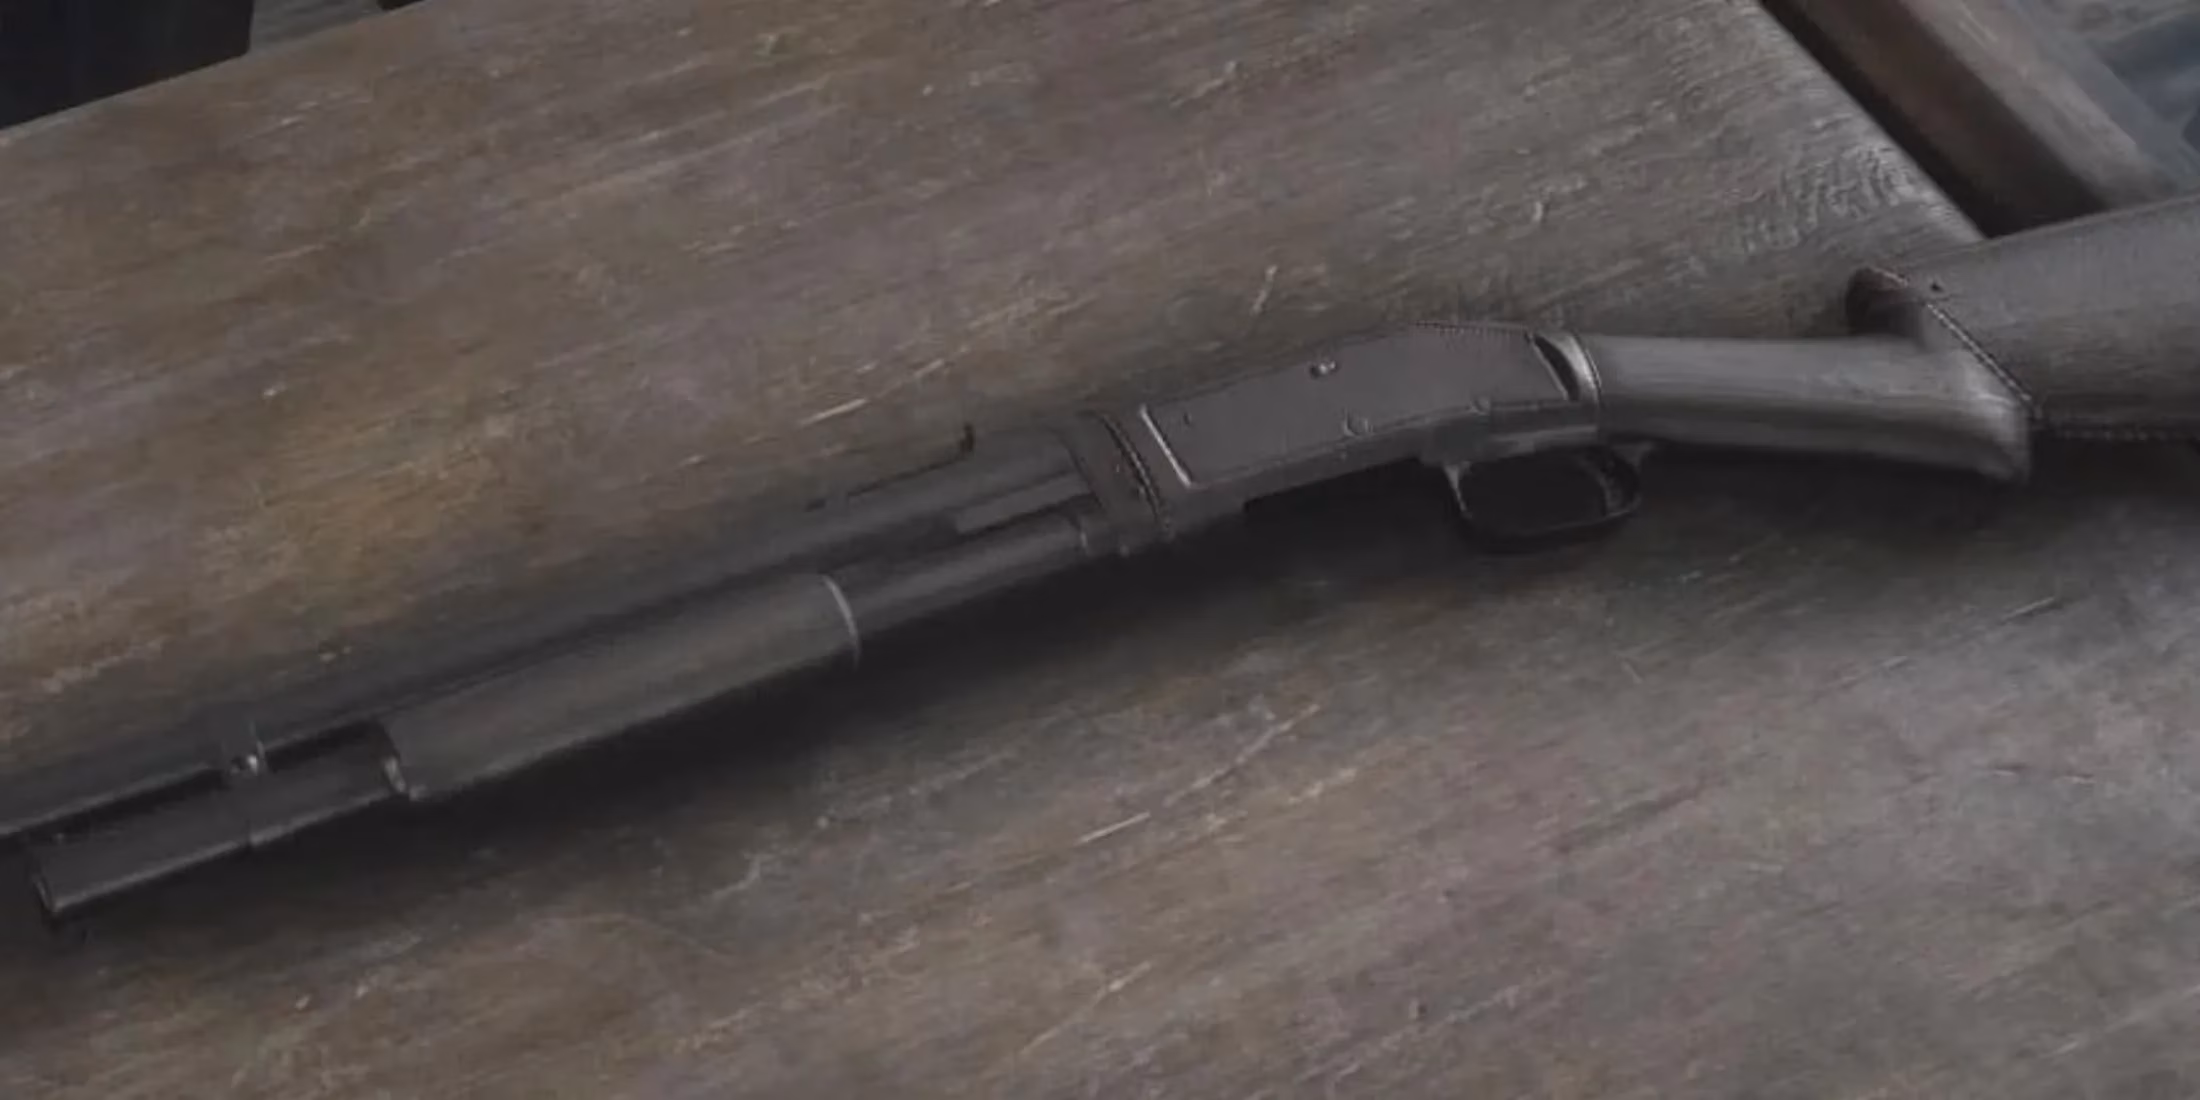
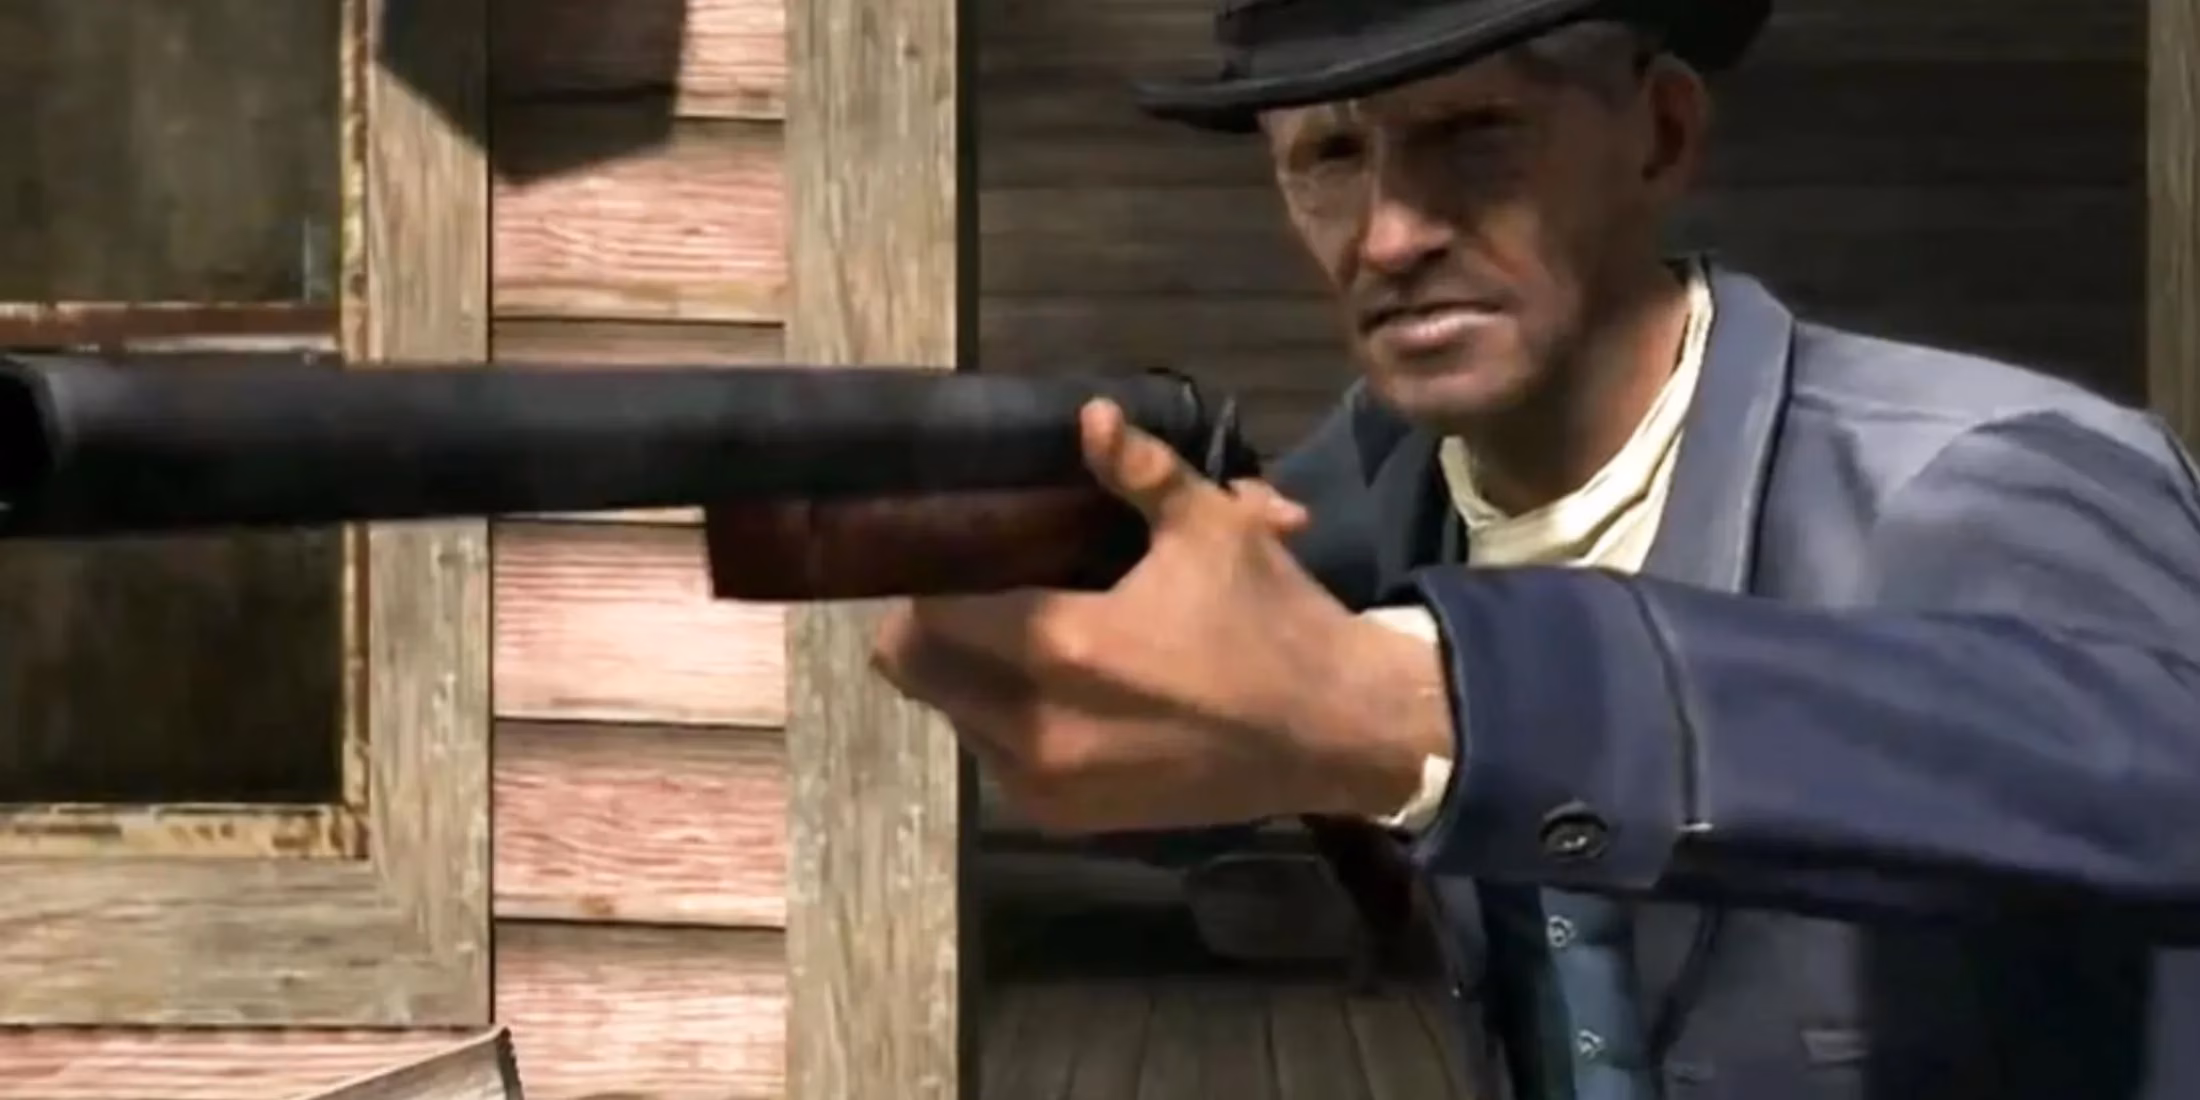
The Pump-Action Shotgun: The All-Rounder Champion
Finally, we come to the weapon many consider the pinnacle of Red Dead Redemption shotguns: the Pump-Action Shotgun. Why is it such a fan favorite? It strikes a near-perfect balance. It has high power, a respectable six-shell capacity (the largest of any shotgun), and manageable handling. It's forgiving for beginners yet remains deadly in the hands of a veteran.
-
Power: High 👑
-
Reload Speed: Medium 🛡️
-
Range: Short 🏹
-
Rate of Fire: Moderate 🎭
-
Capacity: 6
Its satisfying, cinematic pump-action sound and reload animation add to its immersive appeal. It's a defensive powerhouse and a reliable companion in almost any firefight. The only downside is its late-game availability; most players obtain it during the mission 'And The Truth Will Set You Free' from Dutch's gang. Some also report acquiring it by killing Edgar Ross. Whenever you get it, it's well worth the wait.
In the end, the "best" shotgun in Red Dead Redemption isn't a simple title to award. It depends entirely on your playstyle. Do you value raw, single-shot power, or do you need sustained firepower? Are you fighting the undead or bringing in bounties? From the specialized terror of the Blunderbuss to the balanced excellence of the Pump-Action, each of these five shotguns offers a unique way to carve your path through the Old West. The question is, which one will you trust when the lead starts flying?